A few months back I purchased a media blast cabinet from TP Tools (HOBBY-PRO-HP-75). It came with a fluorescent tube light (about 18″ long I believe) that really doesn’t throw that much light. So, I ordered up a LED light to take over for it, as well as some wire grommets to protect the cord as it went thru the cabinet wall (had to drill a new hole). Mounted it to the underside of the top, in the right hand corner (the original is on the left side).
The new LED light is rated at 20W or 1800lm (from Amazon). I already had a power cord to use for this, which I just had to cut the end off of (type that would go into a computer). Wiring up was easy, and I soldered all of the connections, except to the switch (mounted near where the cord comes out of the cabinet) since that has blade connections on it. Used a short piece of angle iron I had already cut (from an earlier project) which I just had to drill three holes into. Two to mount it to the side of the cabinet and the third for the switch. I got the switch from ESS up in Manchester a while back (last of those I purchased that trip).
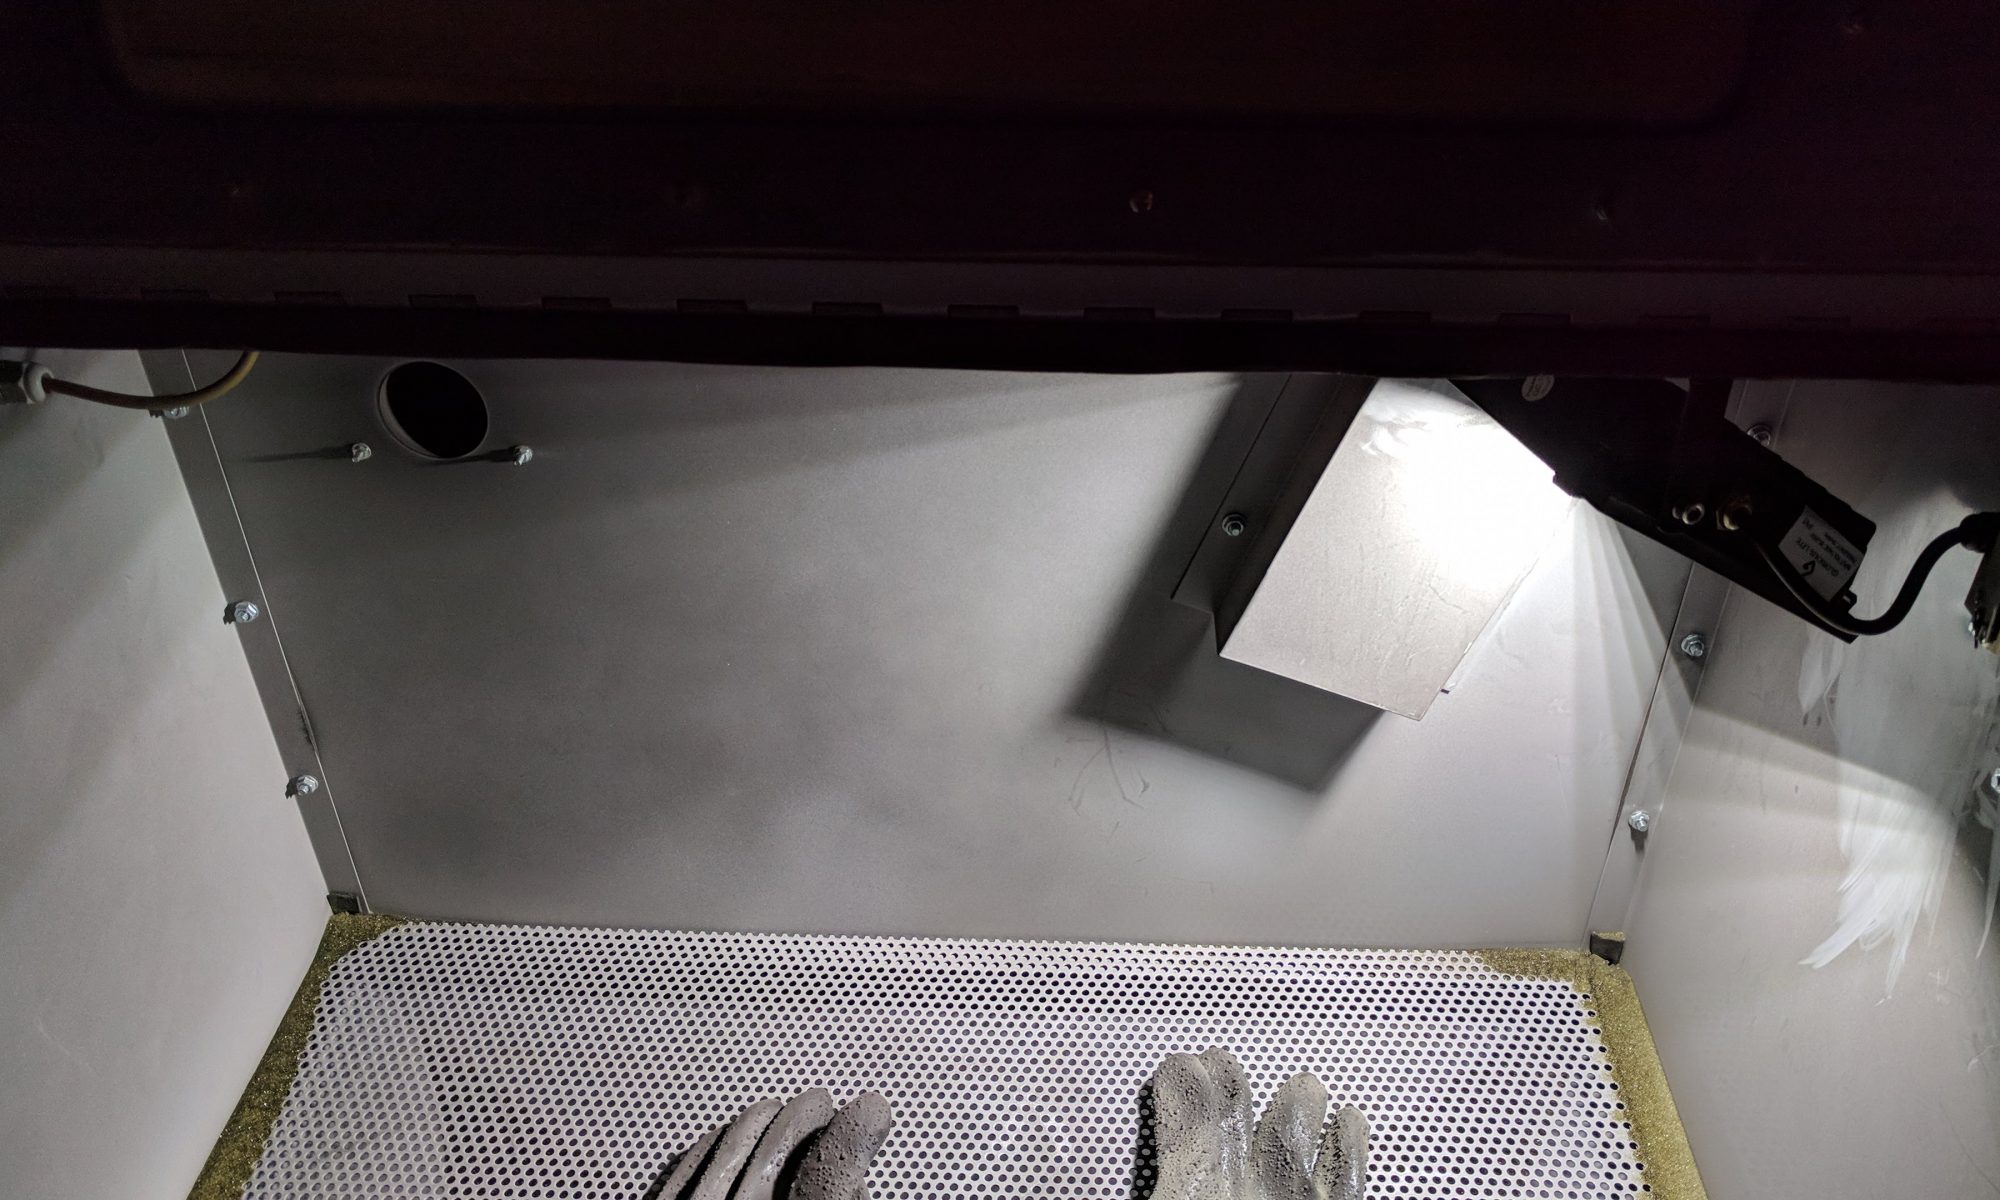
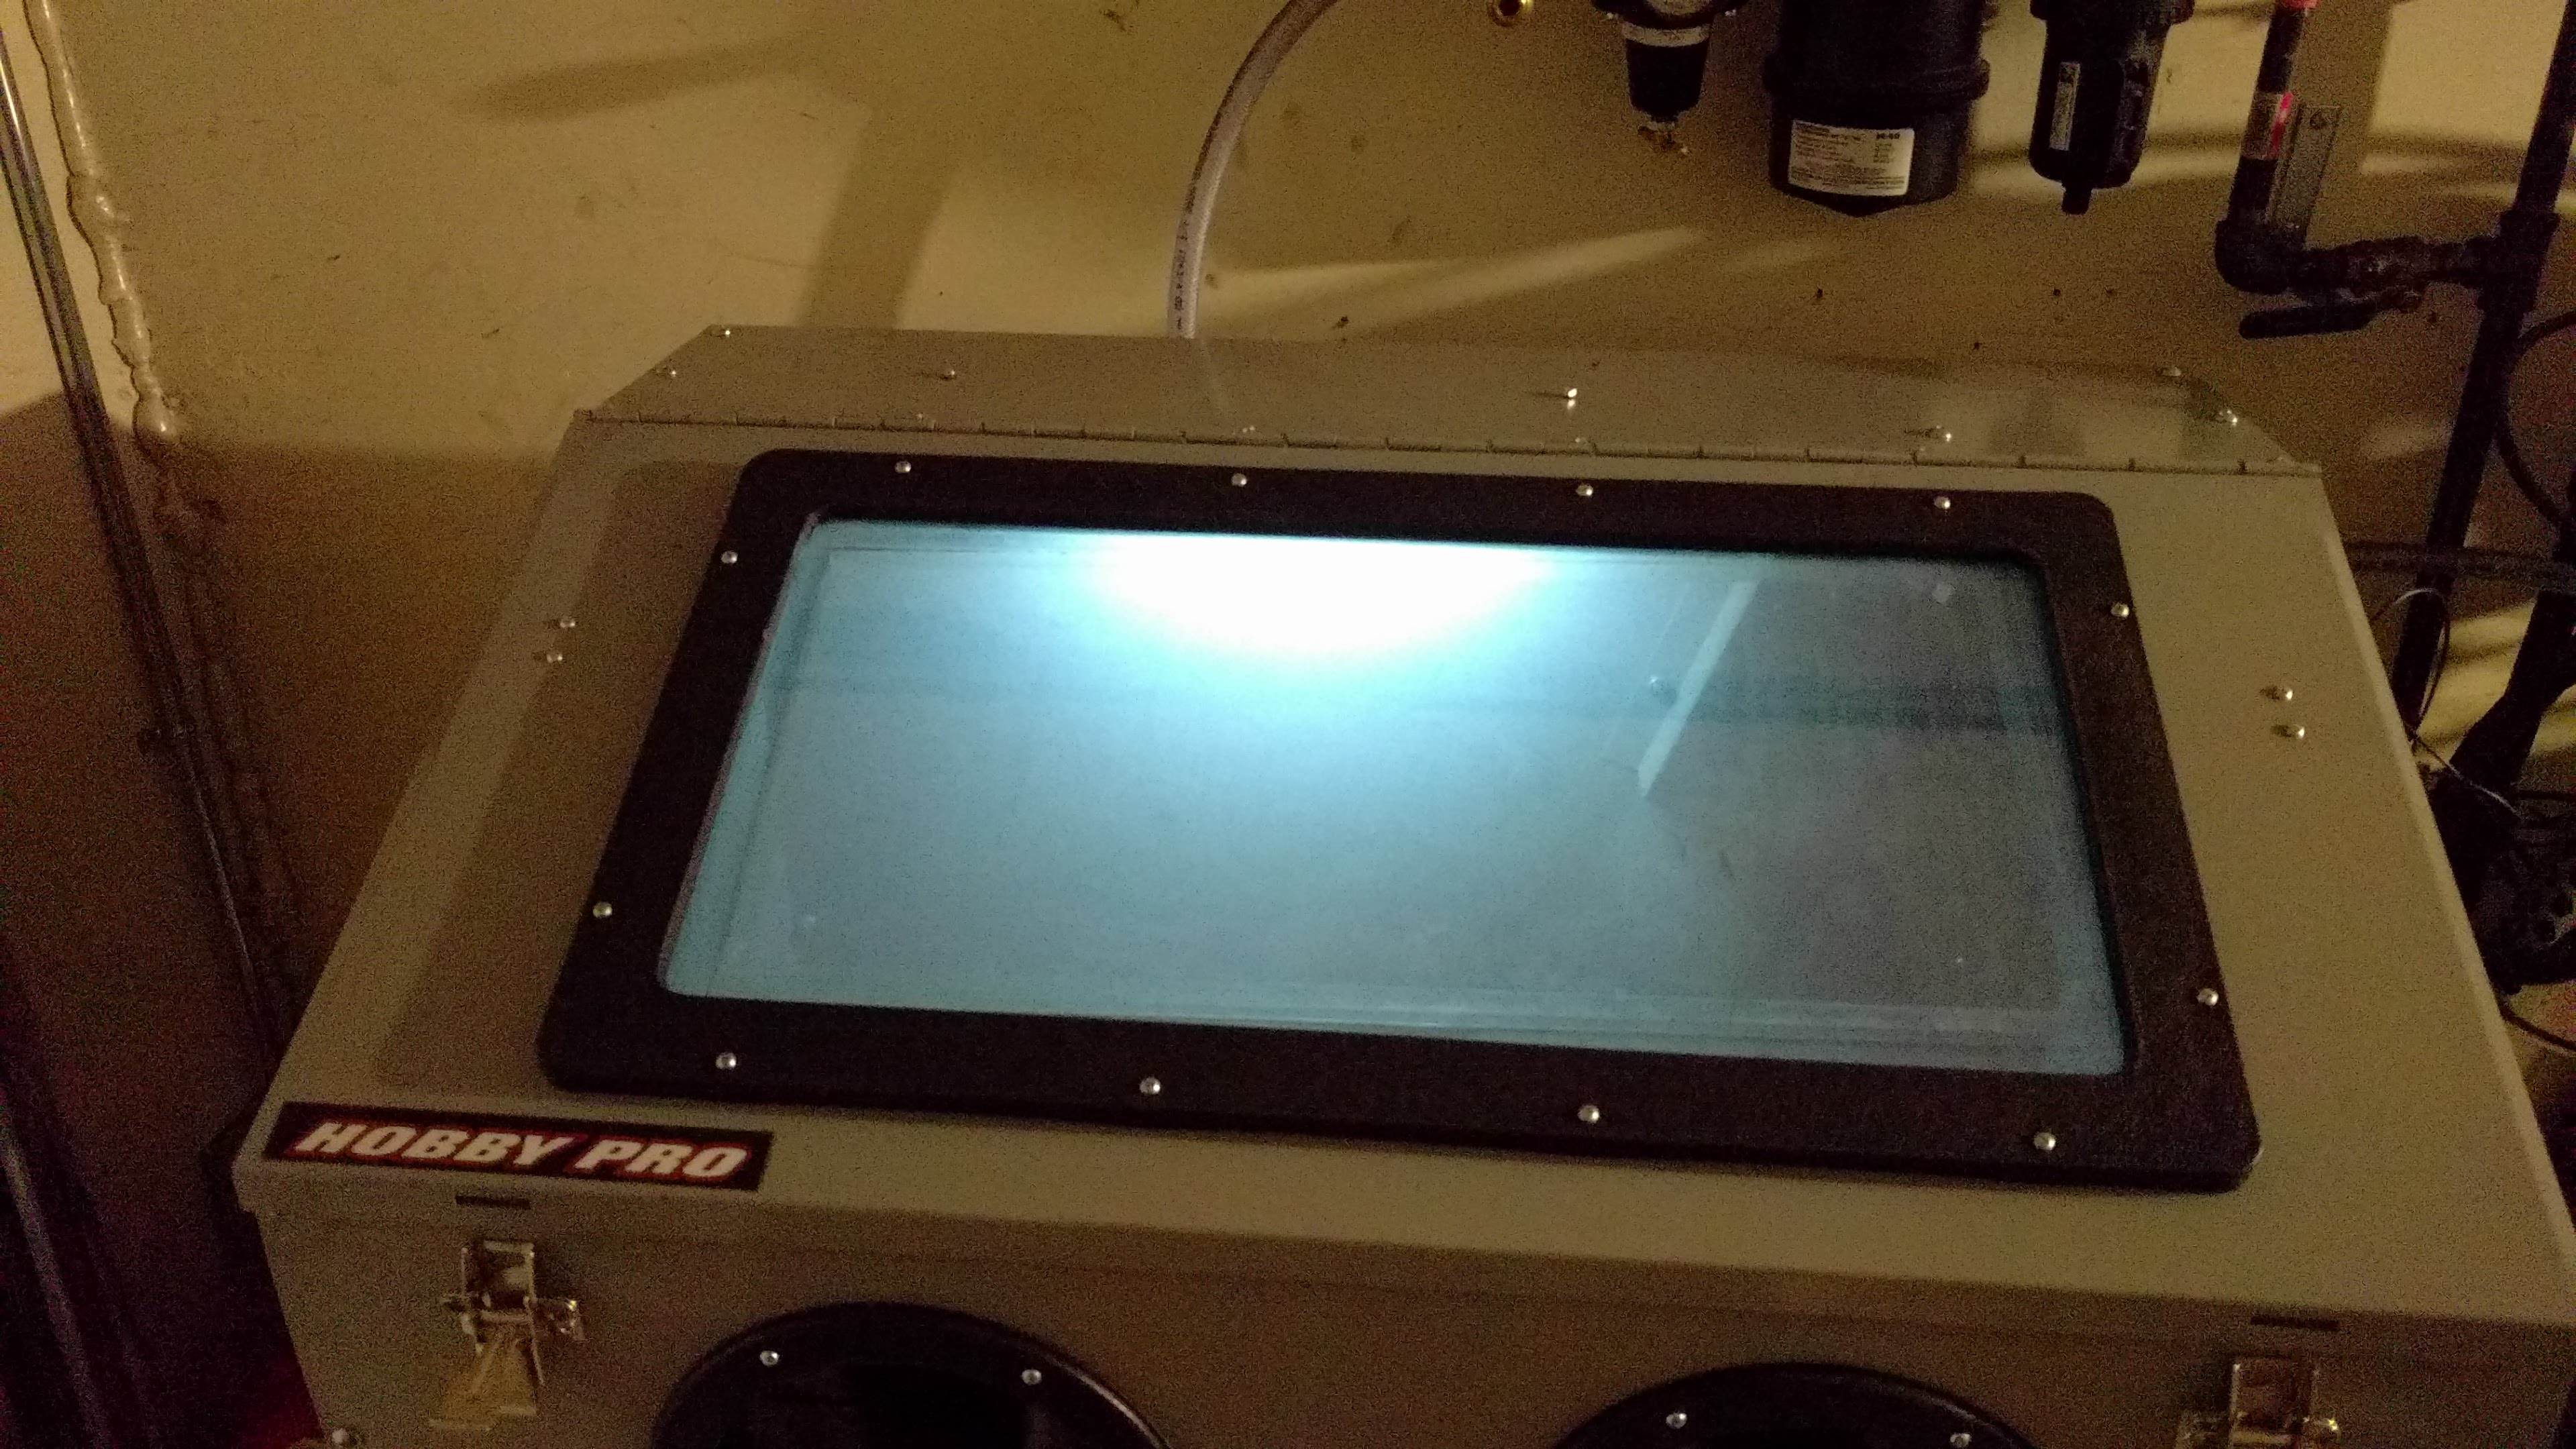
Pictures to show the original light. First with the door closed then open.
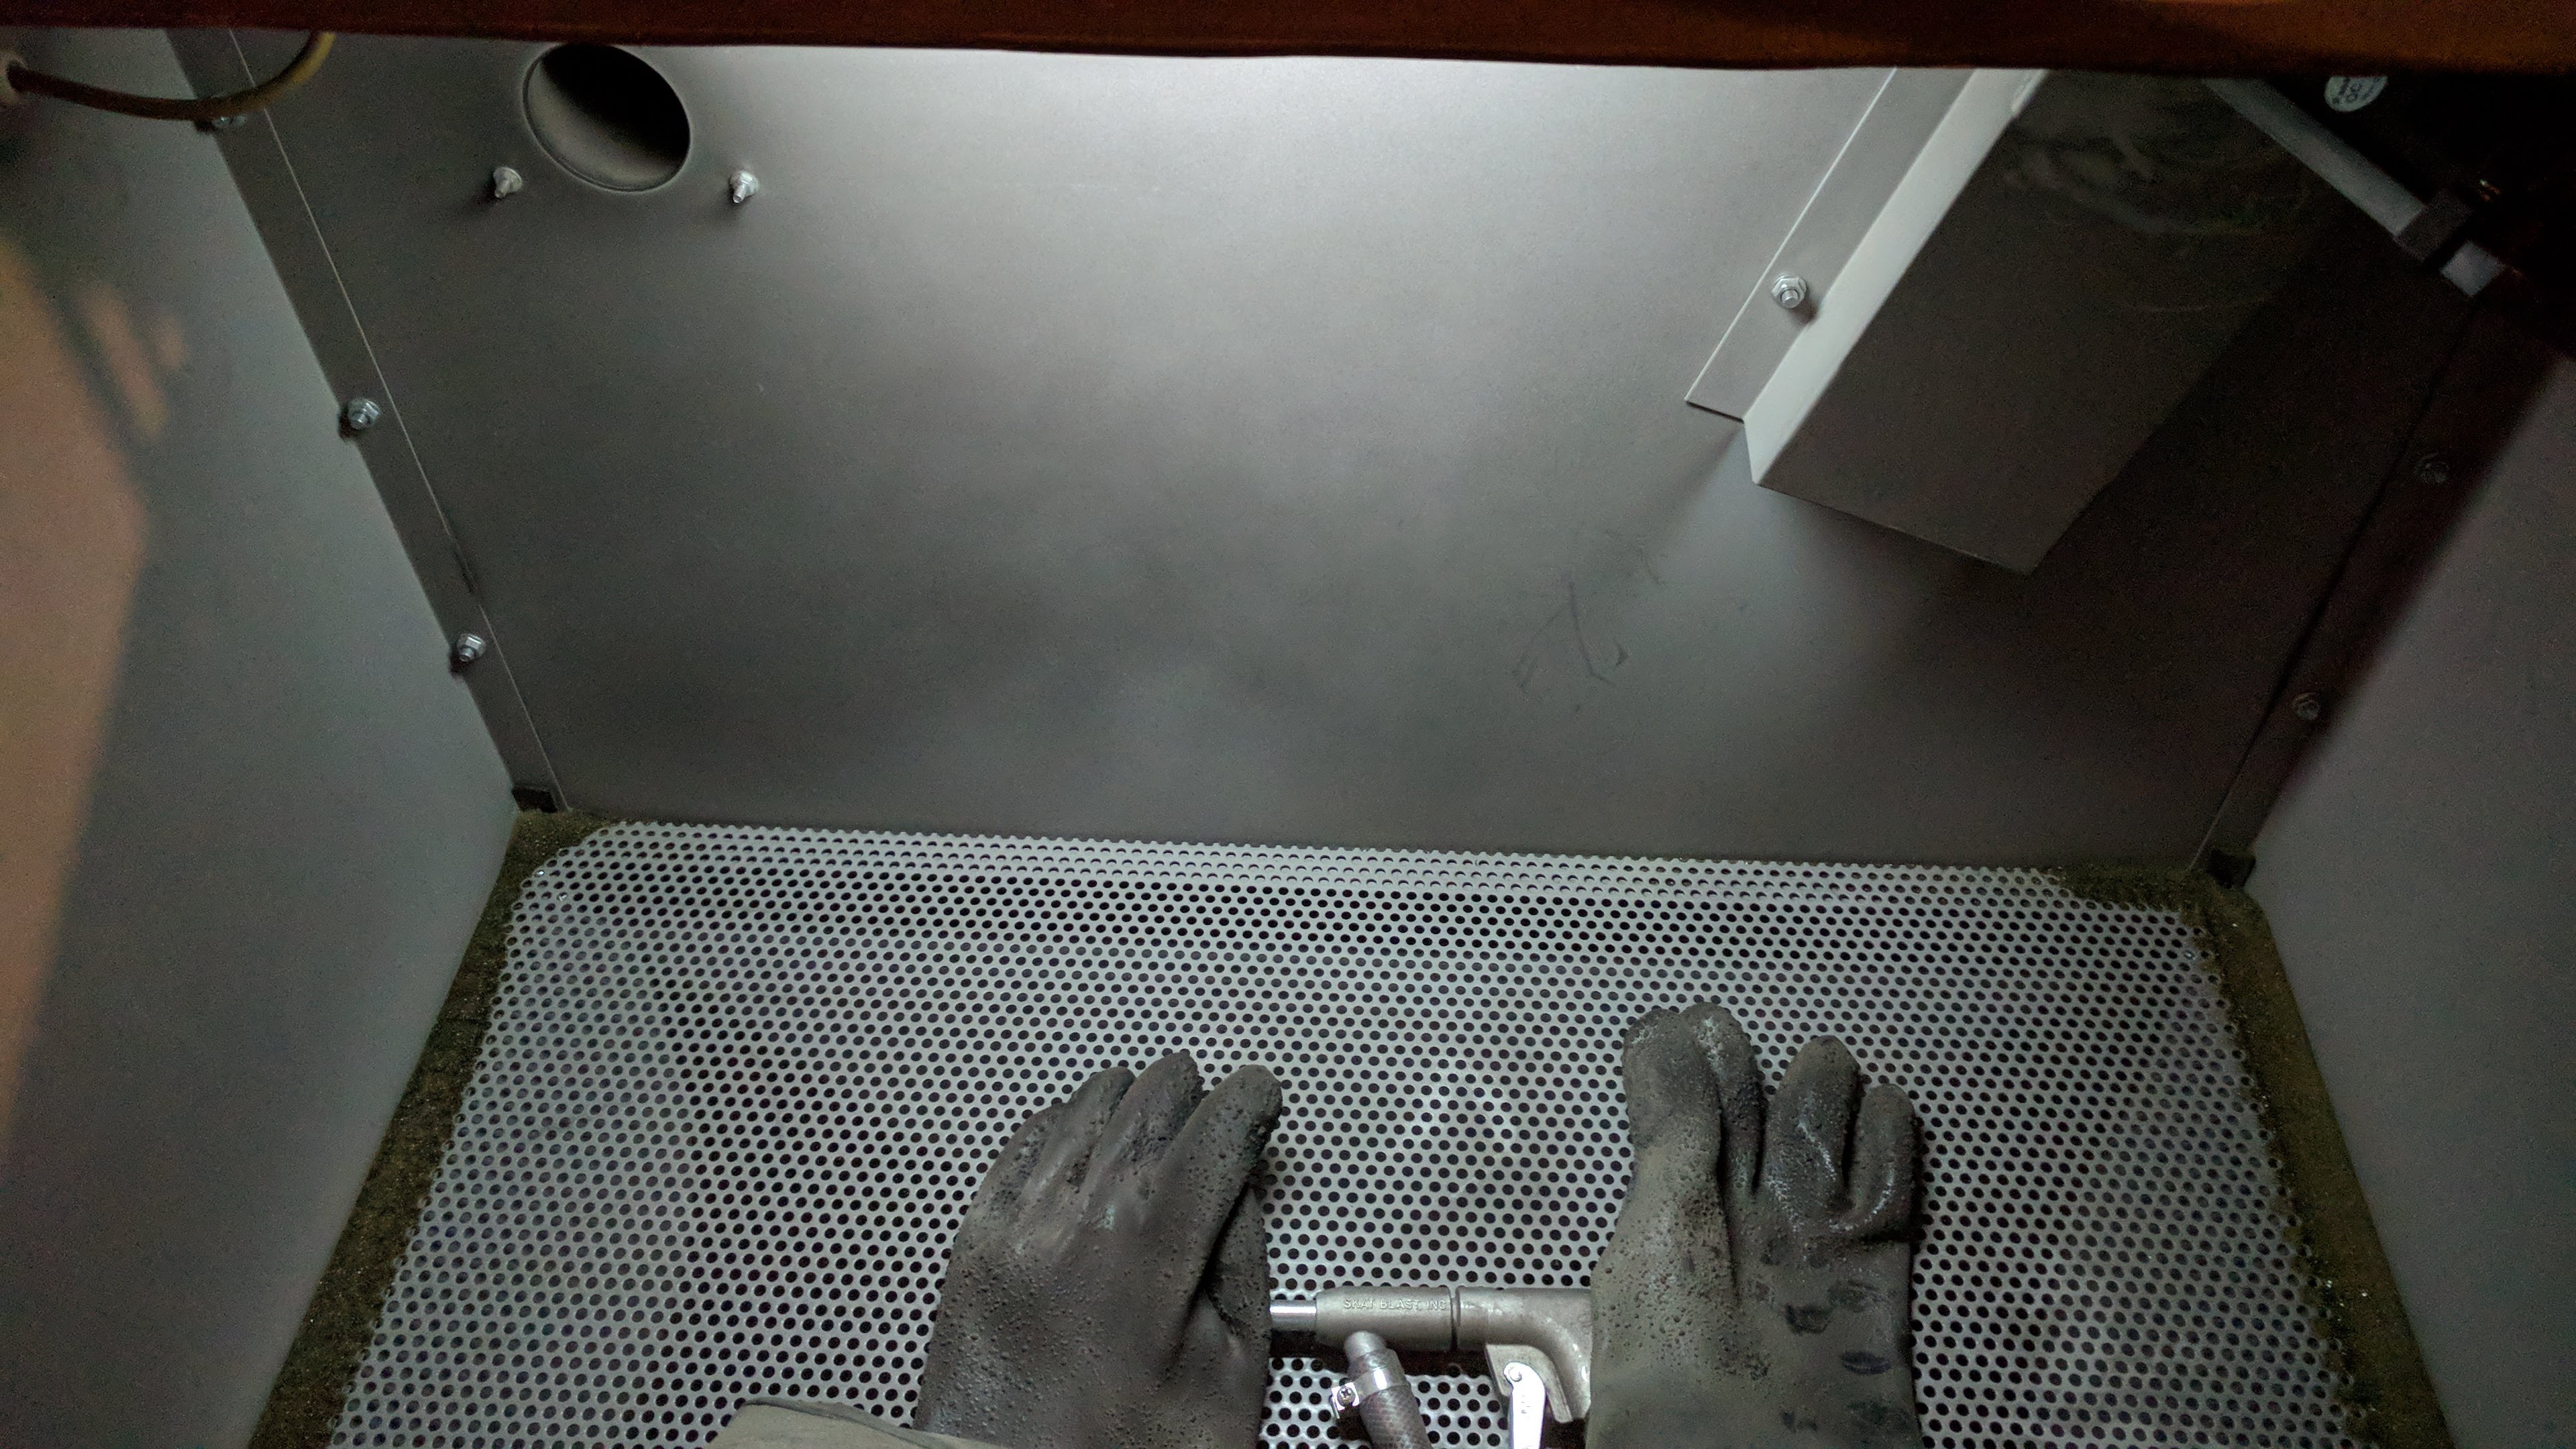
Pictures showing the new LED light (same order as first set):
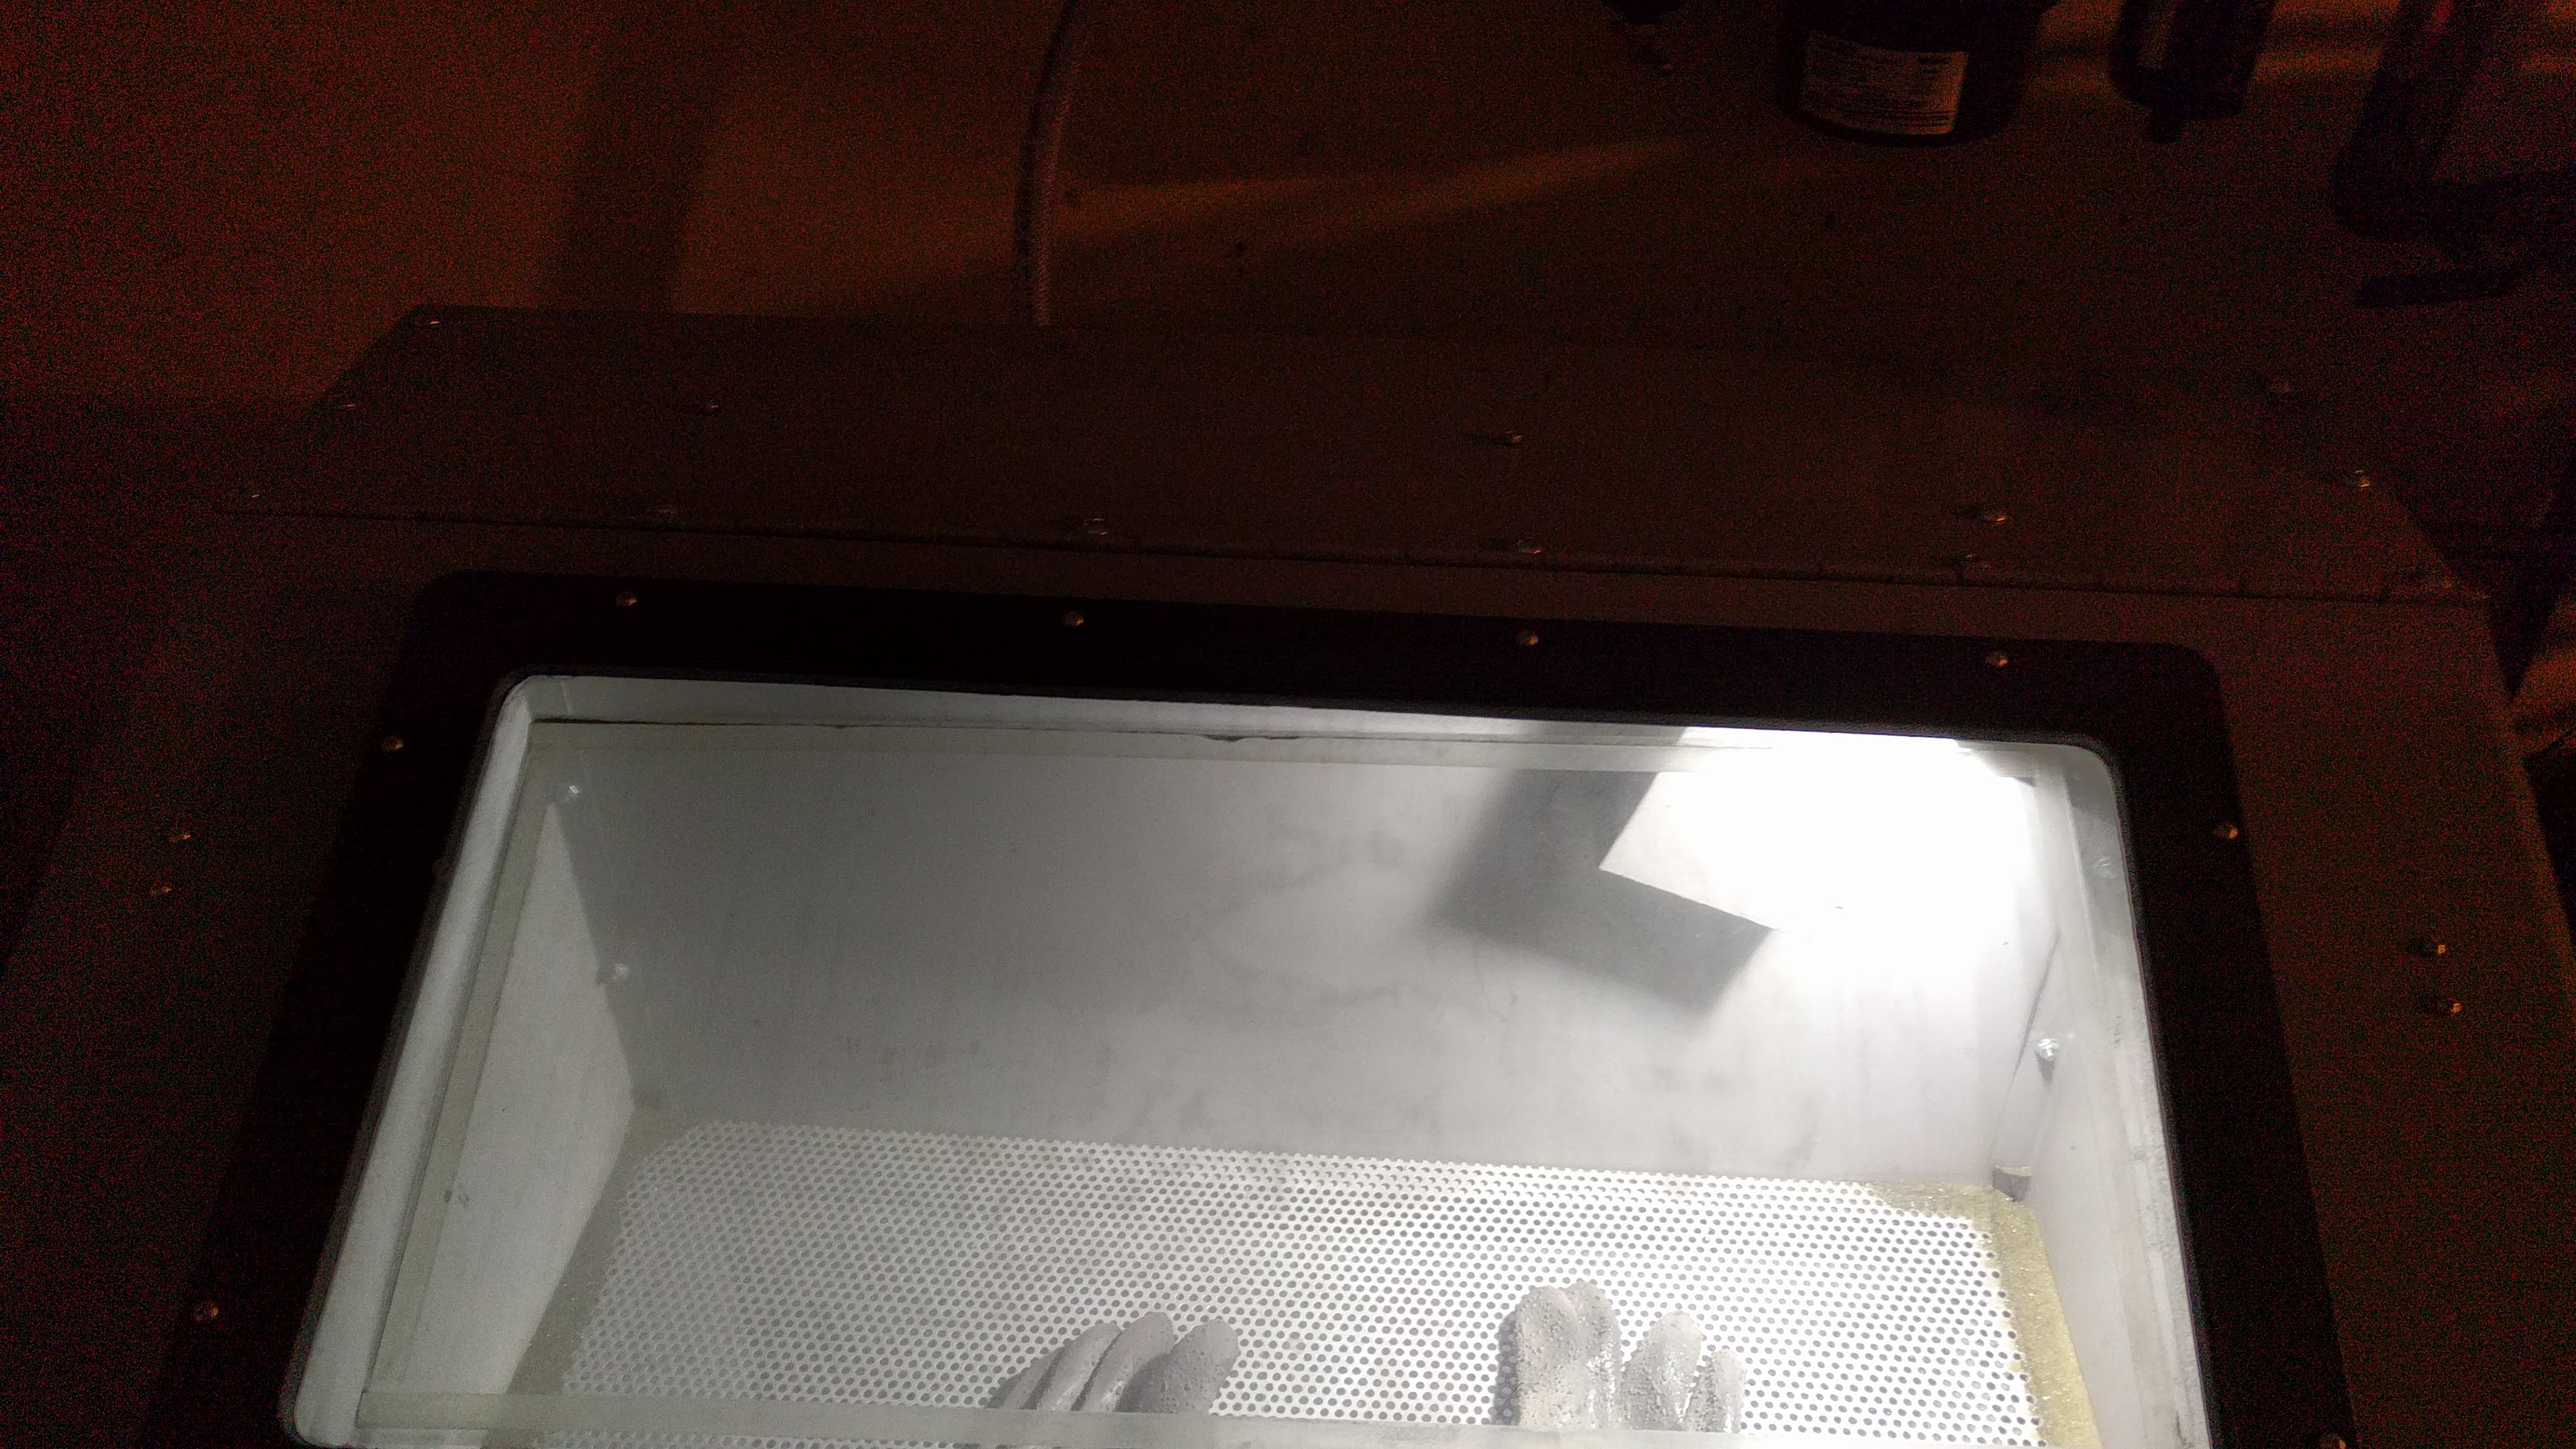
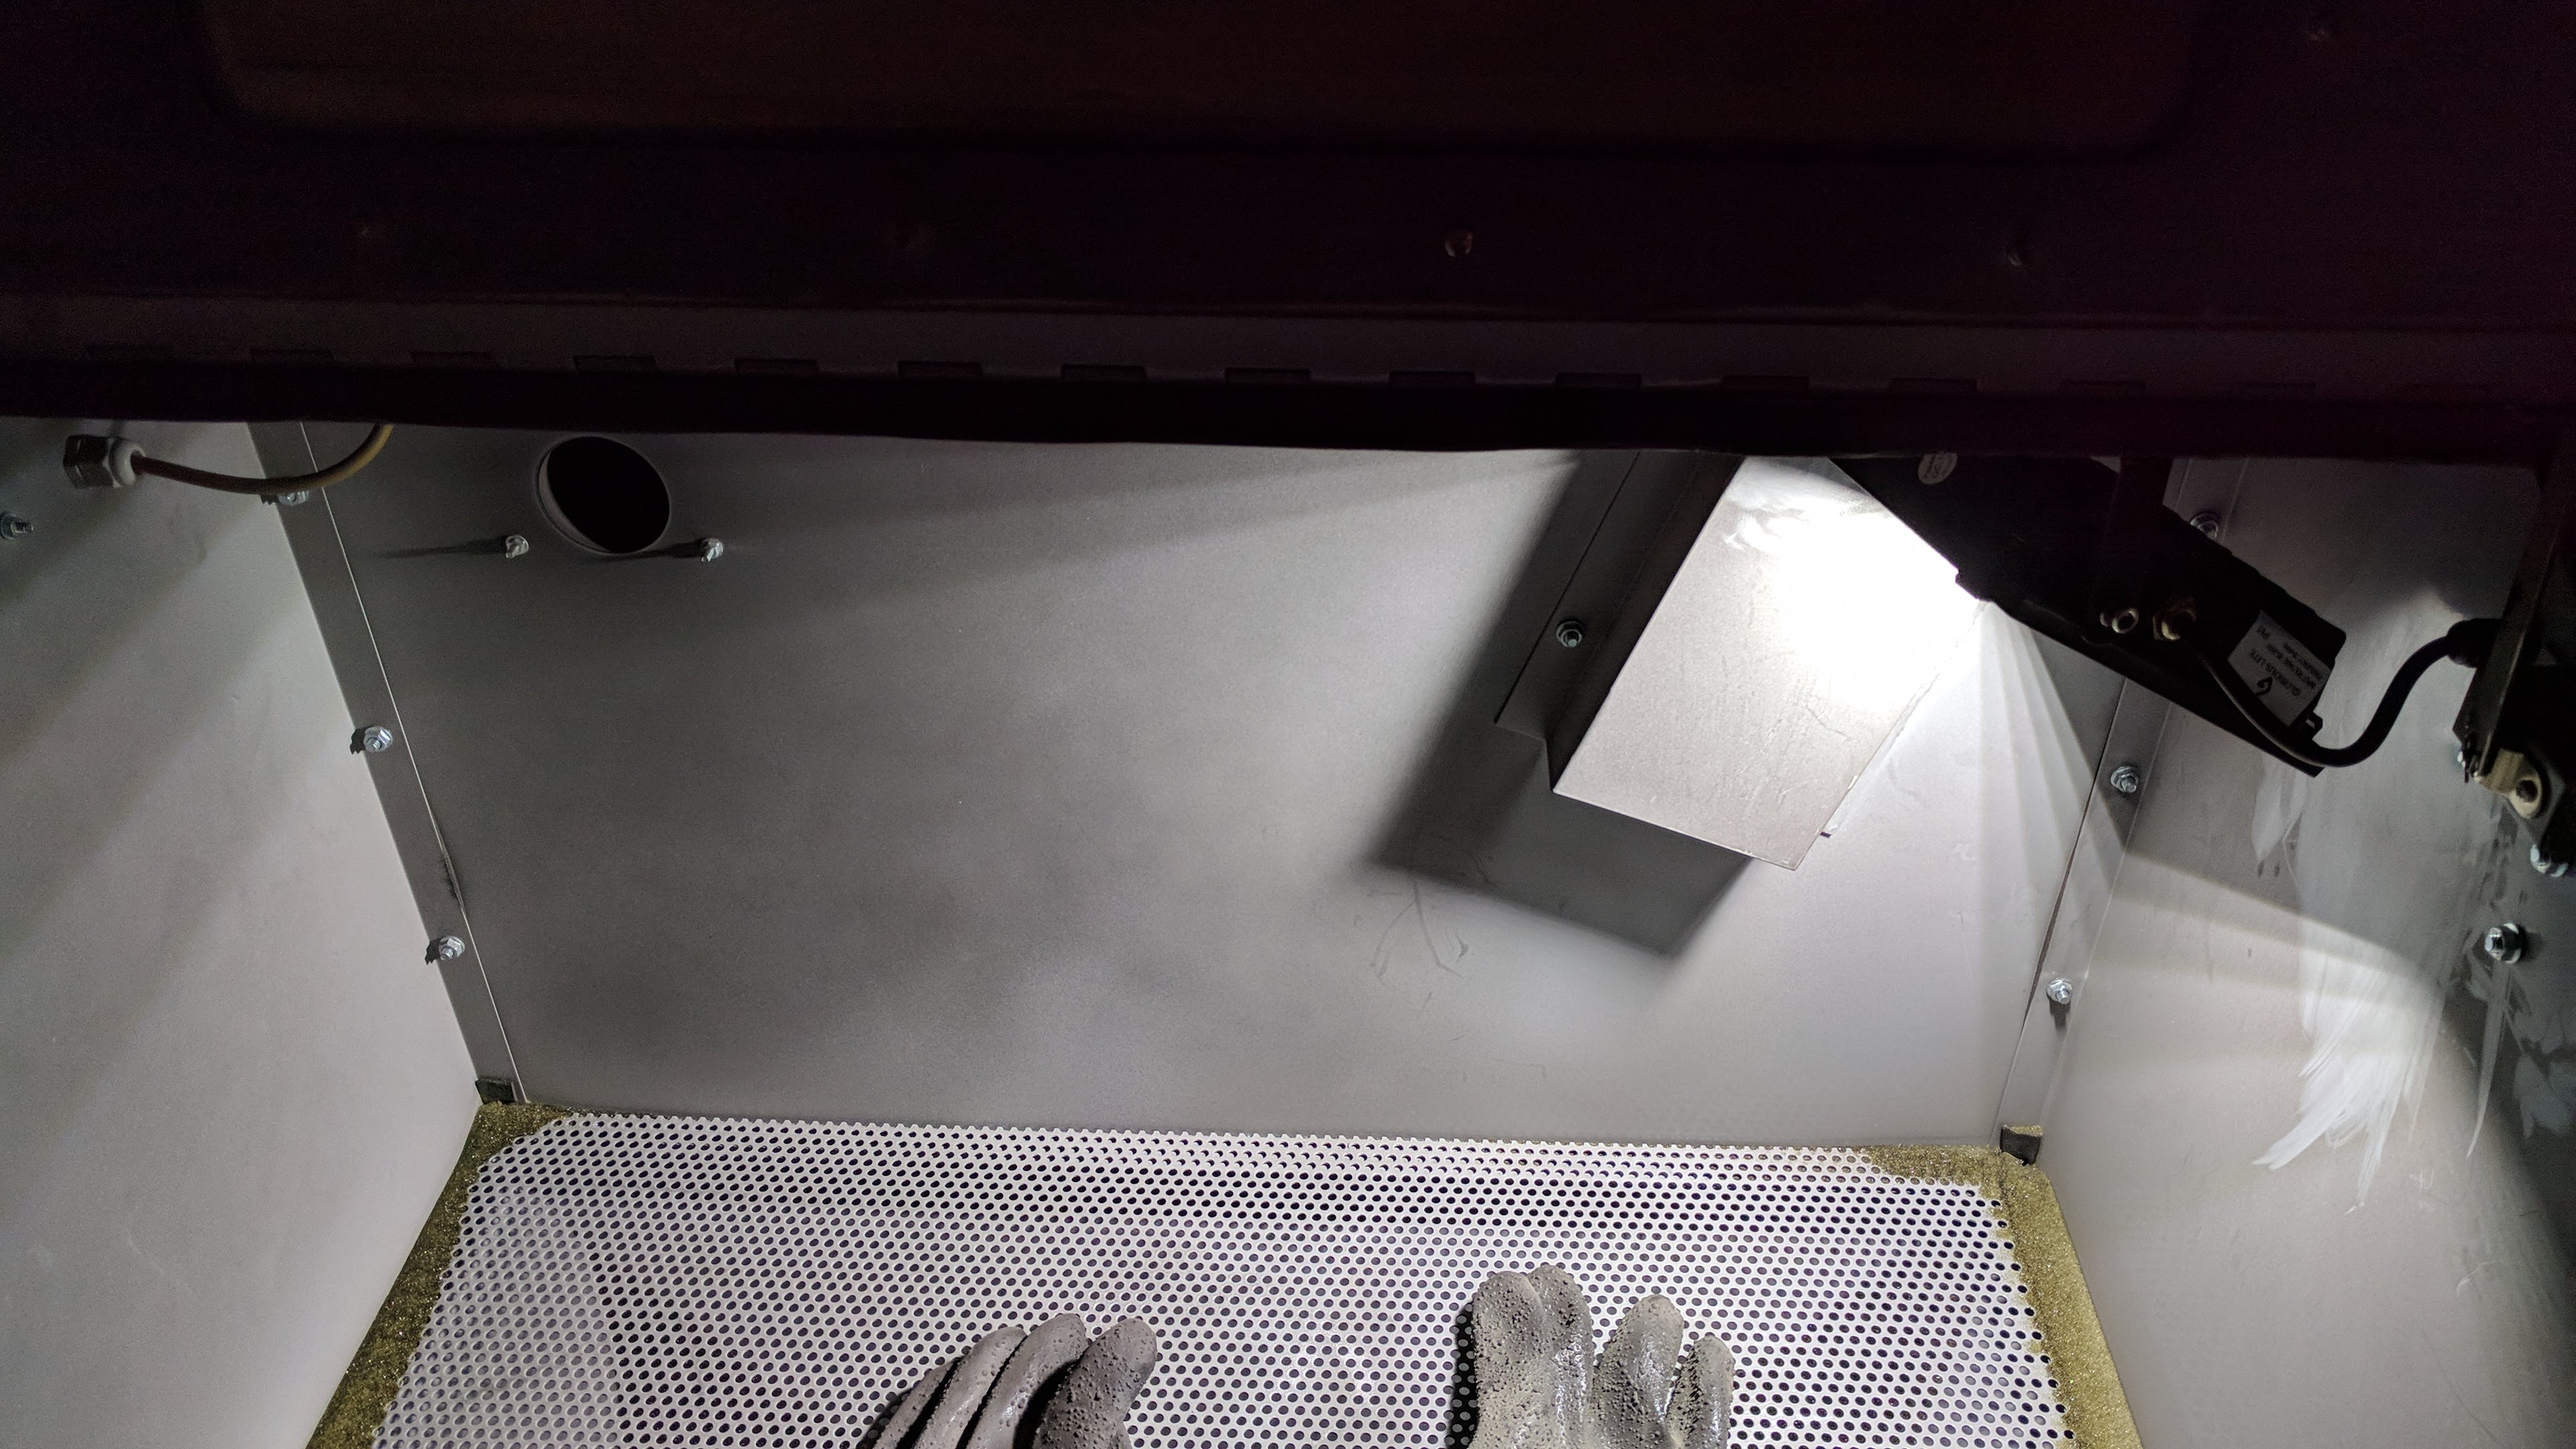
Unfortunately, it’s not 100% clear as to how little light the original fluorescent bulb is throwing (in these pictures). Part of that is due to the low light performance on the camera in my phone. But, you should be able to tell how much MORE light the LED throws in comparison.
I took my time with the installation, including wiring everything up. Which involved soldering the wires together (all except the one going to the switch) as well as drilling the holes for mounting and the wire pass-through. Of course, I also used good shrink tubing on all the wires that were soldered together. Not doing so would be foolish since you’ll quickly have shorts happening (as anyone who’s ever done any wiring before is fully aware of).
I might send a message off to TP Tools to inform them of the poor performance of the included lighting. Plus with what I’ve done to replace that light with something far better (for very short money). My total investment in this setup is less than $25.