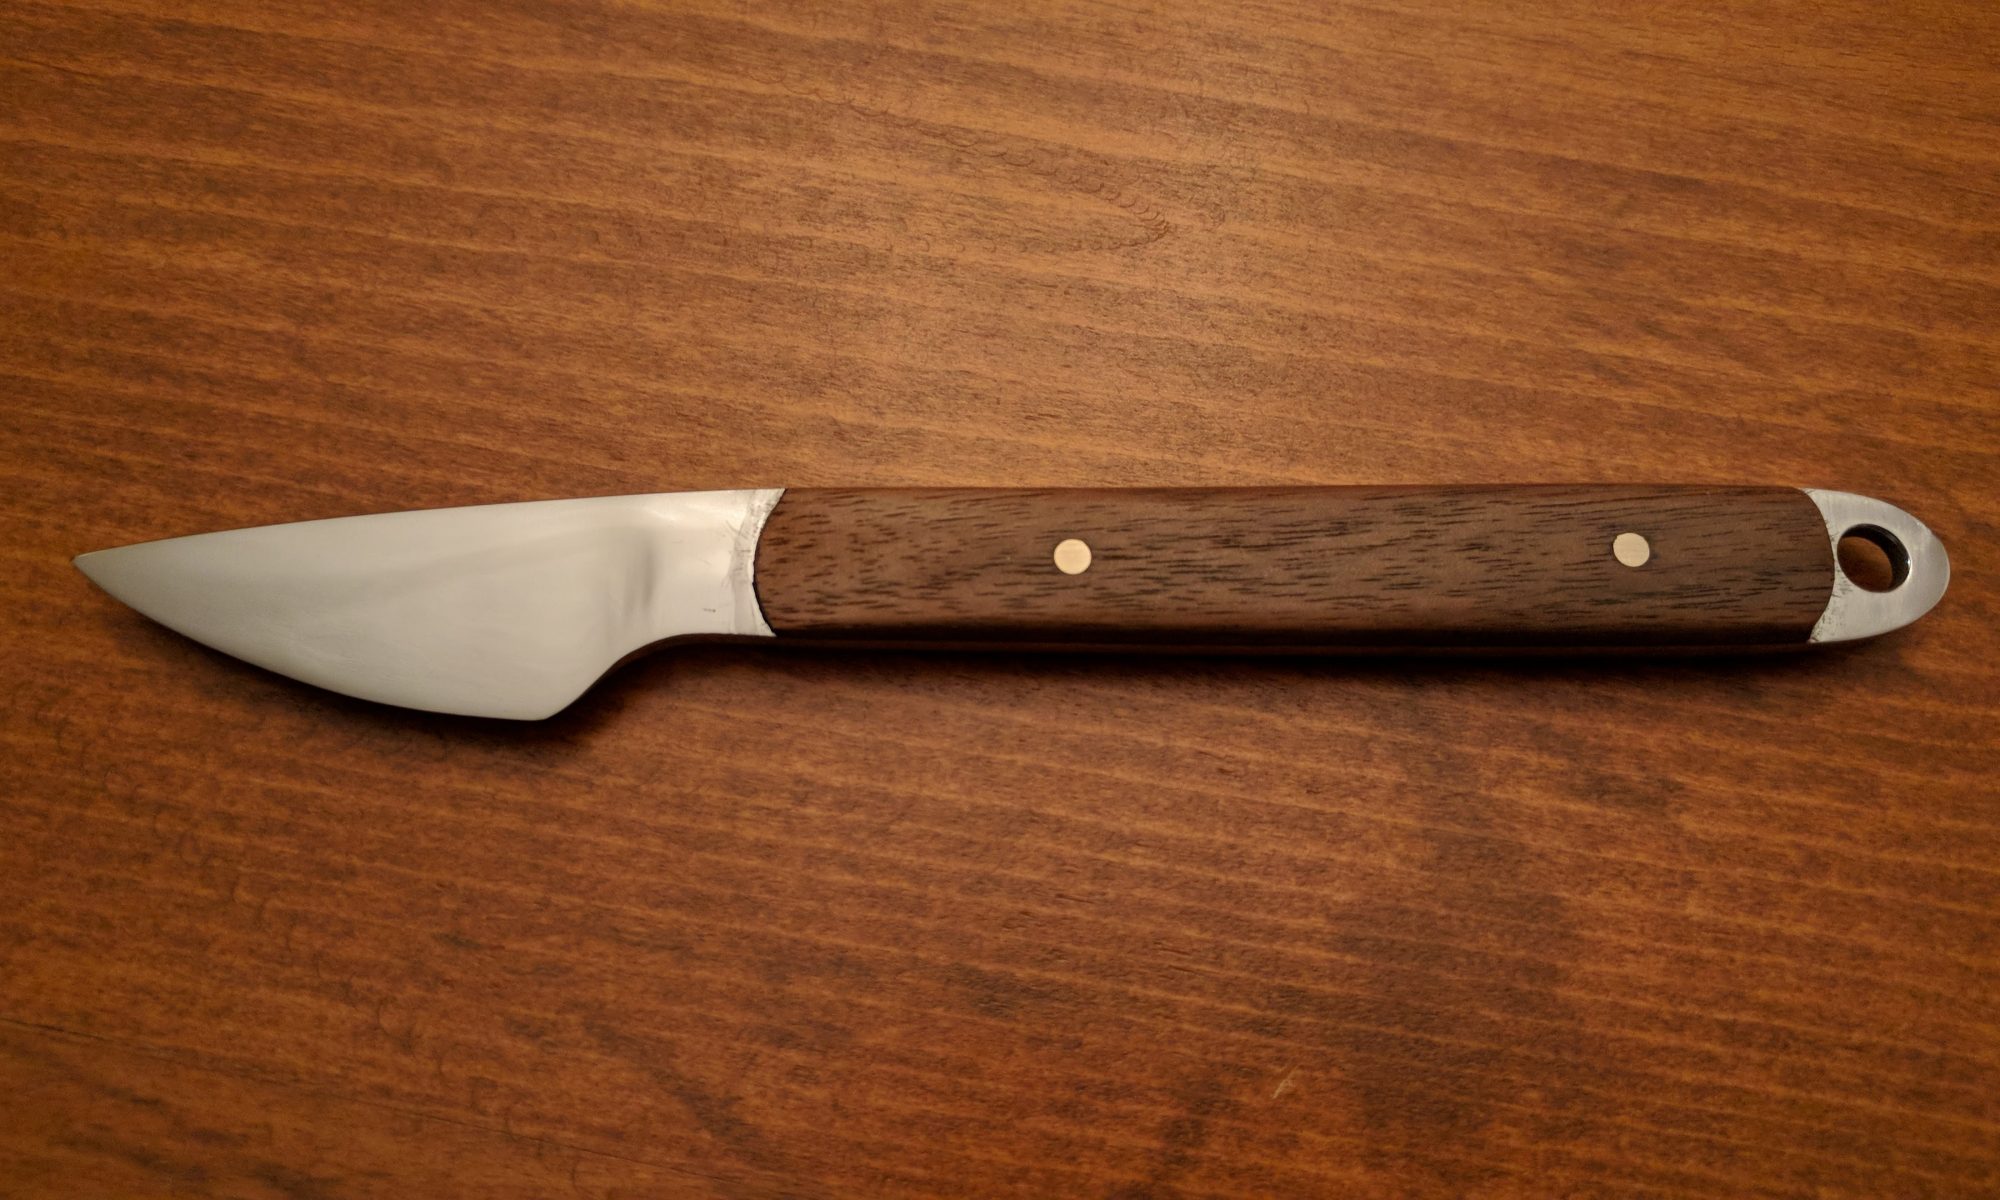
Just wanted to put up a post about a blade I’ve almost completed.
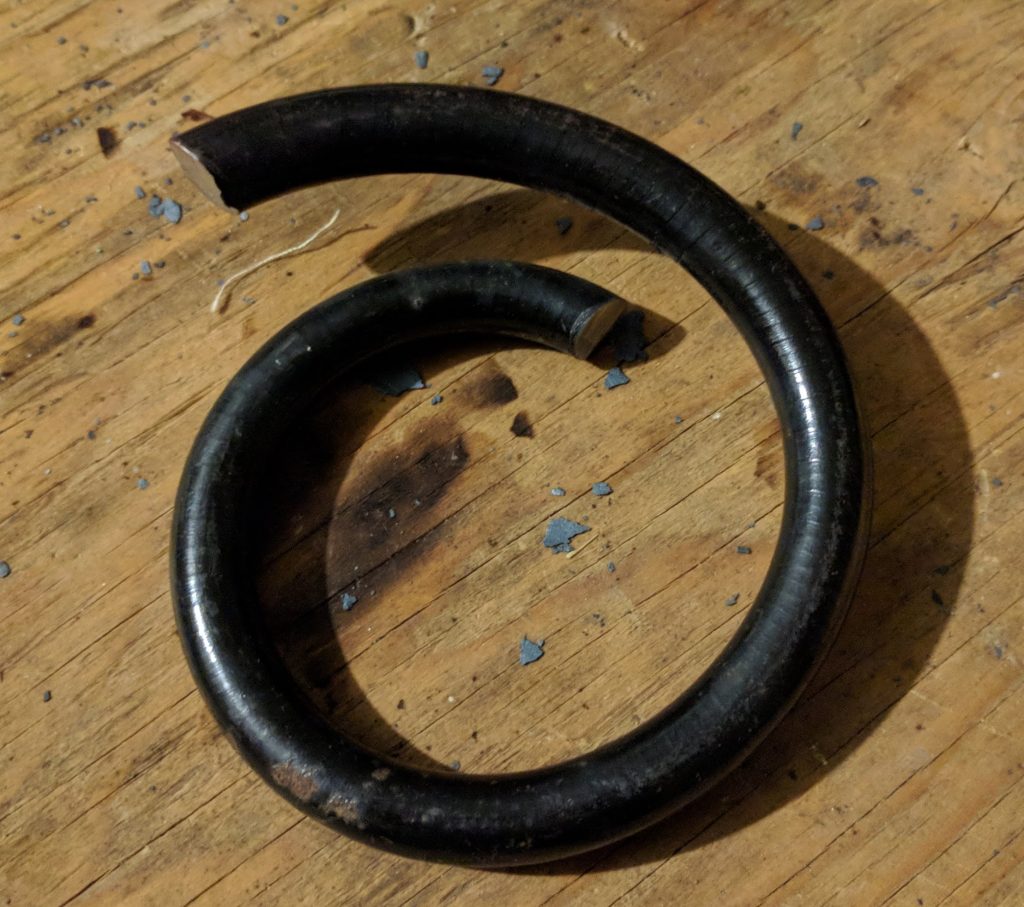
It started off as a section of coil spring, about 4″ long.
Original/raw blade material example (I used a piece from the thicker end of this):
Forged straight:
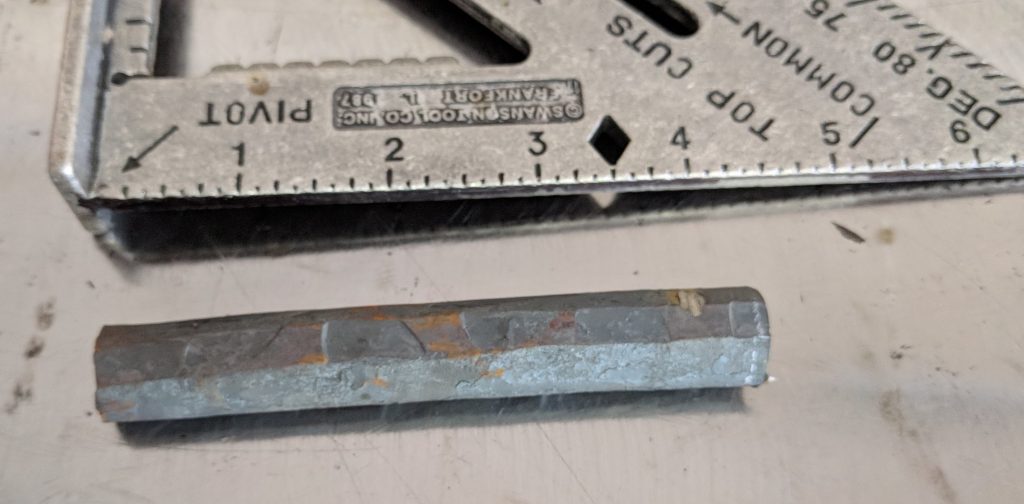
Then forged to rough shape:
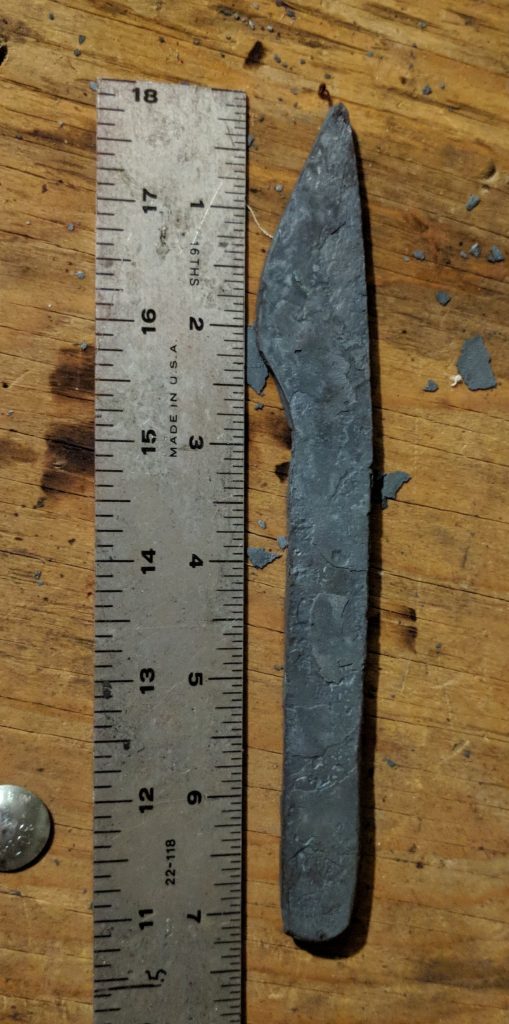
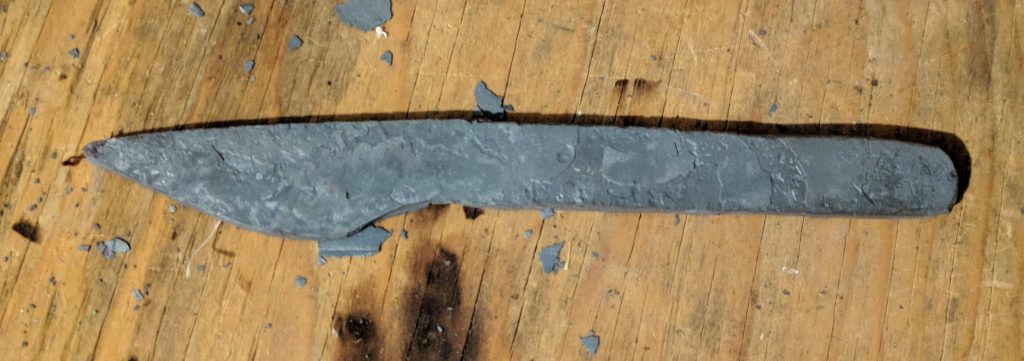
Some grinding to get close to final shape:
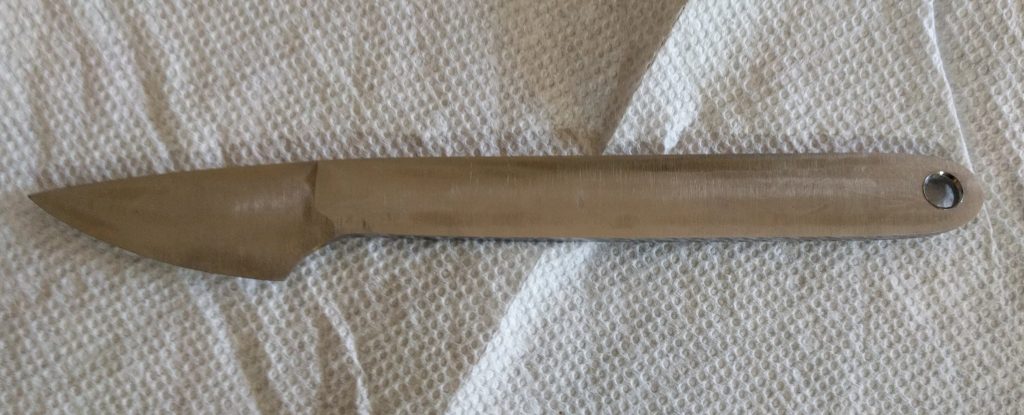
The lanyard hole is 1/4″ diameter at the end of the handle.
The blade was then heat treated and tempered with a target Rc level of about 60. I performed a ‘differential temper’ on this blade as an experiment and tried to use an ferric chloride etch to bring that out. Alas, I left it in the solution too long and it didn’t show the difference. It did after just a minute or so, but I wanted a higher contrast. I’ve found out (via a google search) that 5160 doesn’t take to the etching as well as some of the other alloys. So, I buffed the blade once again to get it back to a nice polish. The differential temper was successful since a simple file test showed the edge (and a good amount of the blade) was harder than the file. The spine of the blade and all of the tang is not hardened. Made very evident both from the file test and when I went to drill the handle pin holes. The black oxide treated drill bit cut easily into the steel. It would not have done that if the tang was also hard.
I cut the handle scales (leftover pieces from other blade handles), epoxied them on and let the epoxy cure as needed (needs about 8 hours to fully cure). Since I have plenty of epoxy pigment on hand, I decided to tint the epoxy black (it goes with everything). Once the epoxy was well on it’s way to being fully cured, I was able to remove the clamps holding them on, trim down the pin stock and peen them a bit to make sure they wouldn’t be going anywhere. The physical connection between handle material and tang is important. It ensures that the handles won’t come off on their own even once the epoxy is fully cured. Even though the epoxy is very strong, having the pins in the handle ensures that they won’t be going anywhere.
I ground the handles to match the tang profile and then let it cure the rest of the way.
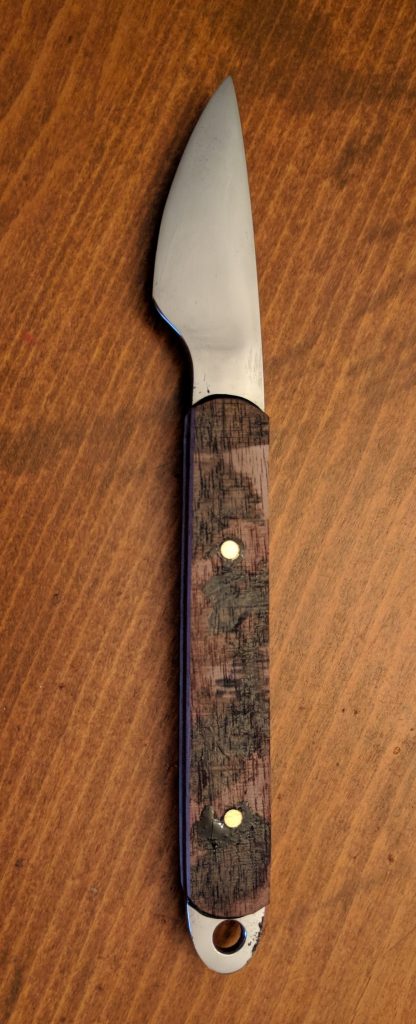
At that point, there was epoxy on the handle wood (black walnut) which doesn’t let it win any beauty contests.
A few hours later I was able to clean up the handles, remove the excess epoxy (I should have cleaned that off when I put the handles on, live and learn) as well as sanded the handles to a comfortable shape on the belt grinder/sander.
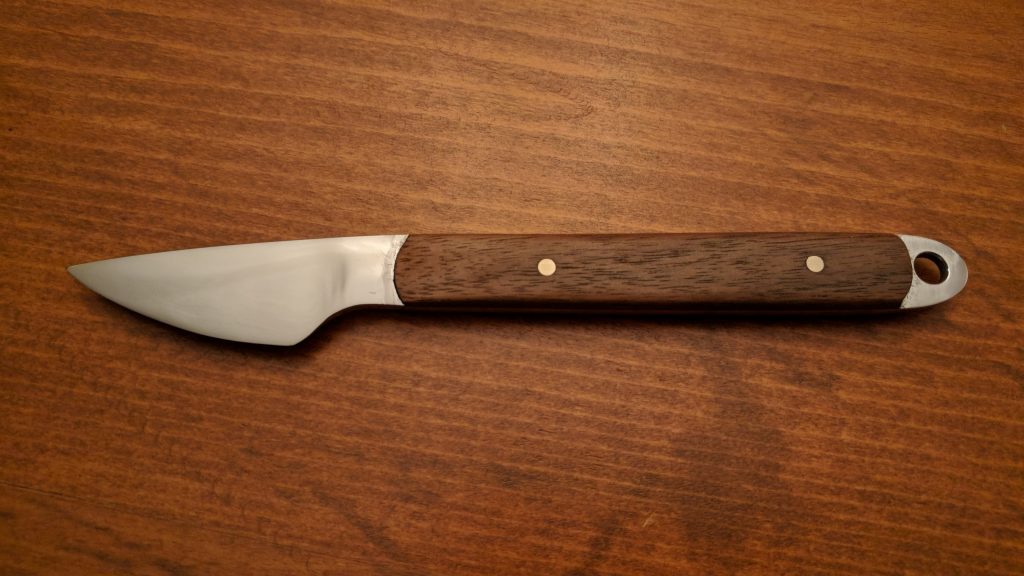
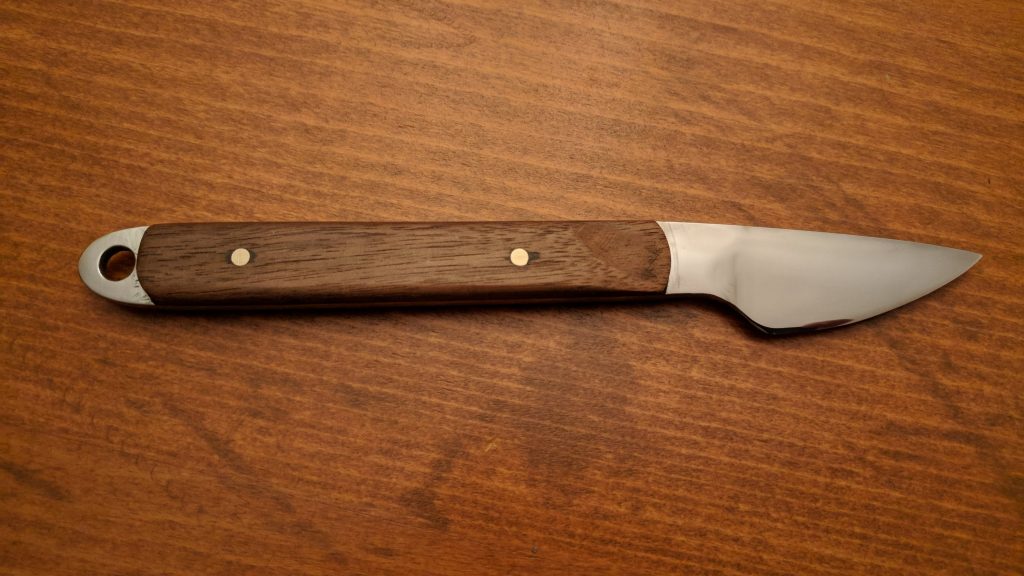
I put a bit of a finger groove into the right hand side of the handle in a position that the first part of your finger can rest into it. I’m not putting any additional grooves on the other side. Mostly since the handle scales are very thin (about 1/8″ thick) and also because the tang is about 1/2″ tall.
I designed this blade so that you can hold it multiple ways easily. You can use the entire handle for your fingers. Holding it in a couple of way. Or index your finger on the spine of the blade for more precise control. With, essentially, a finger stop before you get to the live edge, it should make for safe usage. With the lanyard hole (and included lanyard) dropping the blade shouldn’t be a risk.
I did more hand sanding on the handles and tang to get to a good finish level. I plan to seal the wood sometime today with shellac to make sure it’s good for the long term. As with the other blades I’ve made, that will be sanded so that it has a good grip level and won’t slip from your fingers.
This is intended to be a ‘field and stream’ type blade. With more of a scalpel type shape/feel to it. Once the handle is sealed, I’ll sharpen the edge and give it a final polish and cleanup. Then the sheath(s) will be made. I’m planning to make both a kydex and leather sheath for this one. The kydex sheath will have a belt clip attached to it so that it can be easily worn. I’ll probably do something similar for the leather sheath. I’ve not yet decided if this one will go into a store that has agreed to let me display some blades to help promote my blade making. I might make another one to put there.
I do have a few other blade projects on deck to make soon. One for a person that wants a Bowie blade (design has about an 8″ blade at this point). The other is a 6″ chef knife that’s been requested by mom. I need to get a new frame made for my forge press since the first one I made isn’t holding up to the 20 ton air assist bottle jack. Hopefully, I’ll have the replacement made and usable before the coming weekend (a friend will be helping me make that, since he’s a welder by trade and has a lot more stock on hand than I do).
The Bowie knife is about the longest I’m planning to make currently. At least with the equipment I have on hand. Anything longer and I’ll need to set something else up for the annealing process (after forging). Currently I use the forge, closed off with fire bricks on either end, to anneal the blades once forged. Since leaving them inside the hot forge, to cool slowly does a good job of that. There are ways to do this for larger items, but it will require me setting something up to allow the steel to cool slowly.
Some other points that I need to work on for the processes I have in place, currently, includes warming the quench oil. Right now I’m using a electric bucket heater (you immerse it) to warm the oil to about 120-130F. This takes a while to do. With the oil I’m currently using, I’m not too sure about using the old ‘hot steel piece into the oil to warm it up’ method I’ve seen mentioned (and shown) in other places. Maybe when I get some more proper quench oil that will work better (with a higher flash point). I need to research the flash points for some additional oils to see what I can use that either won’t smoke as much, or has a higher flash point.
Once this blade is finished, along with the sheath(s), it will be added to the blade gallery section.
